If you’re looking for information on how to embed your custom trained chatbot in your Wix website, you’re in the right place! Here’s how to add ChatGPT to a Wix website with Chatwith.
Add your chatbot to your Webflow website
Adding your chatbot to your website can be done in two steps that take just a minute!
In the Chatwith dashboard
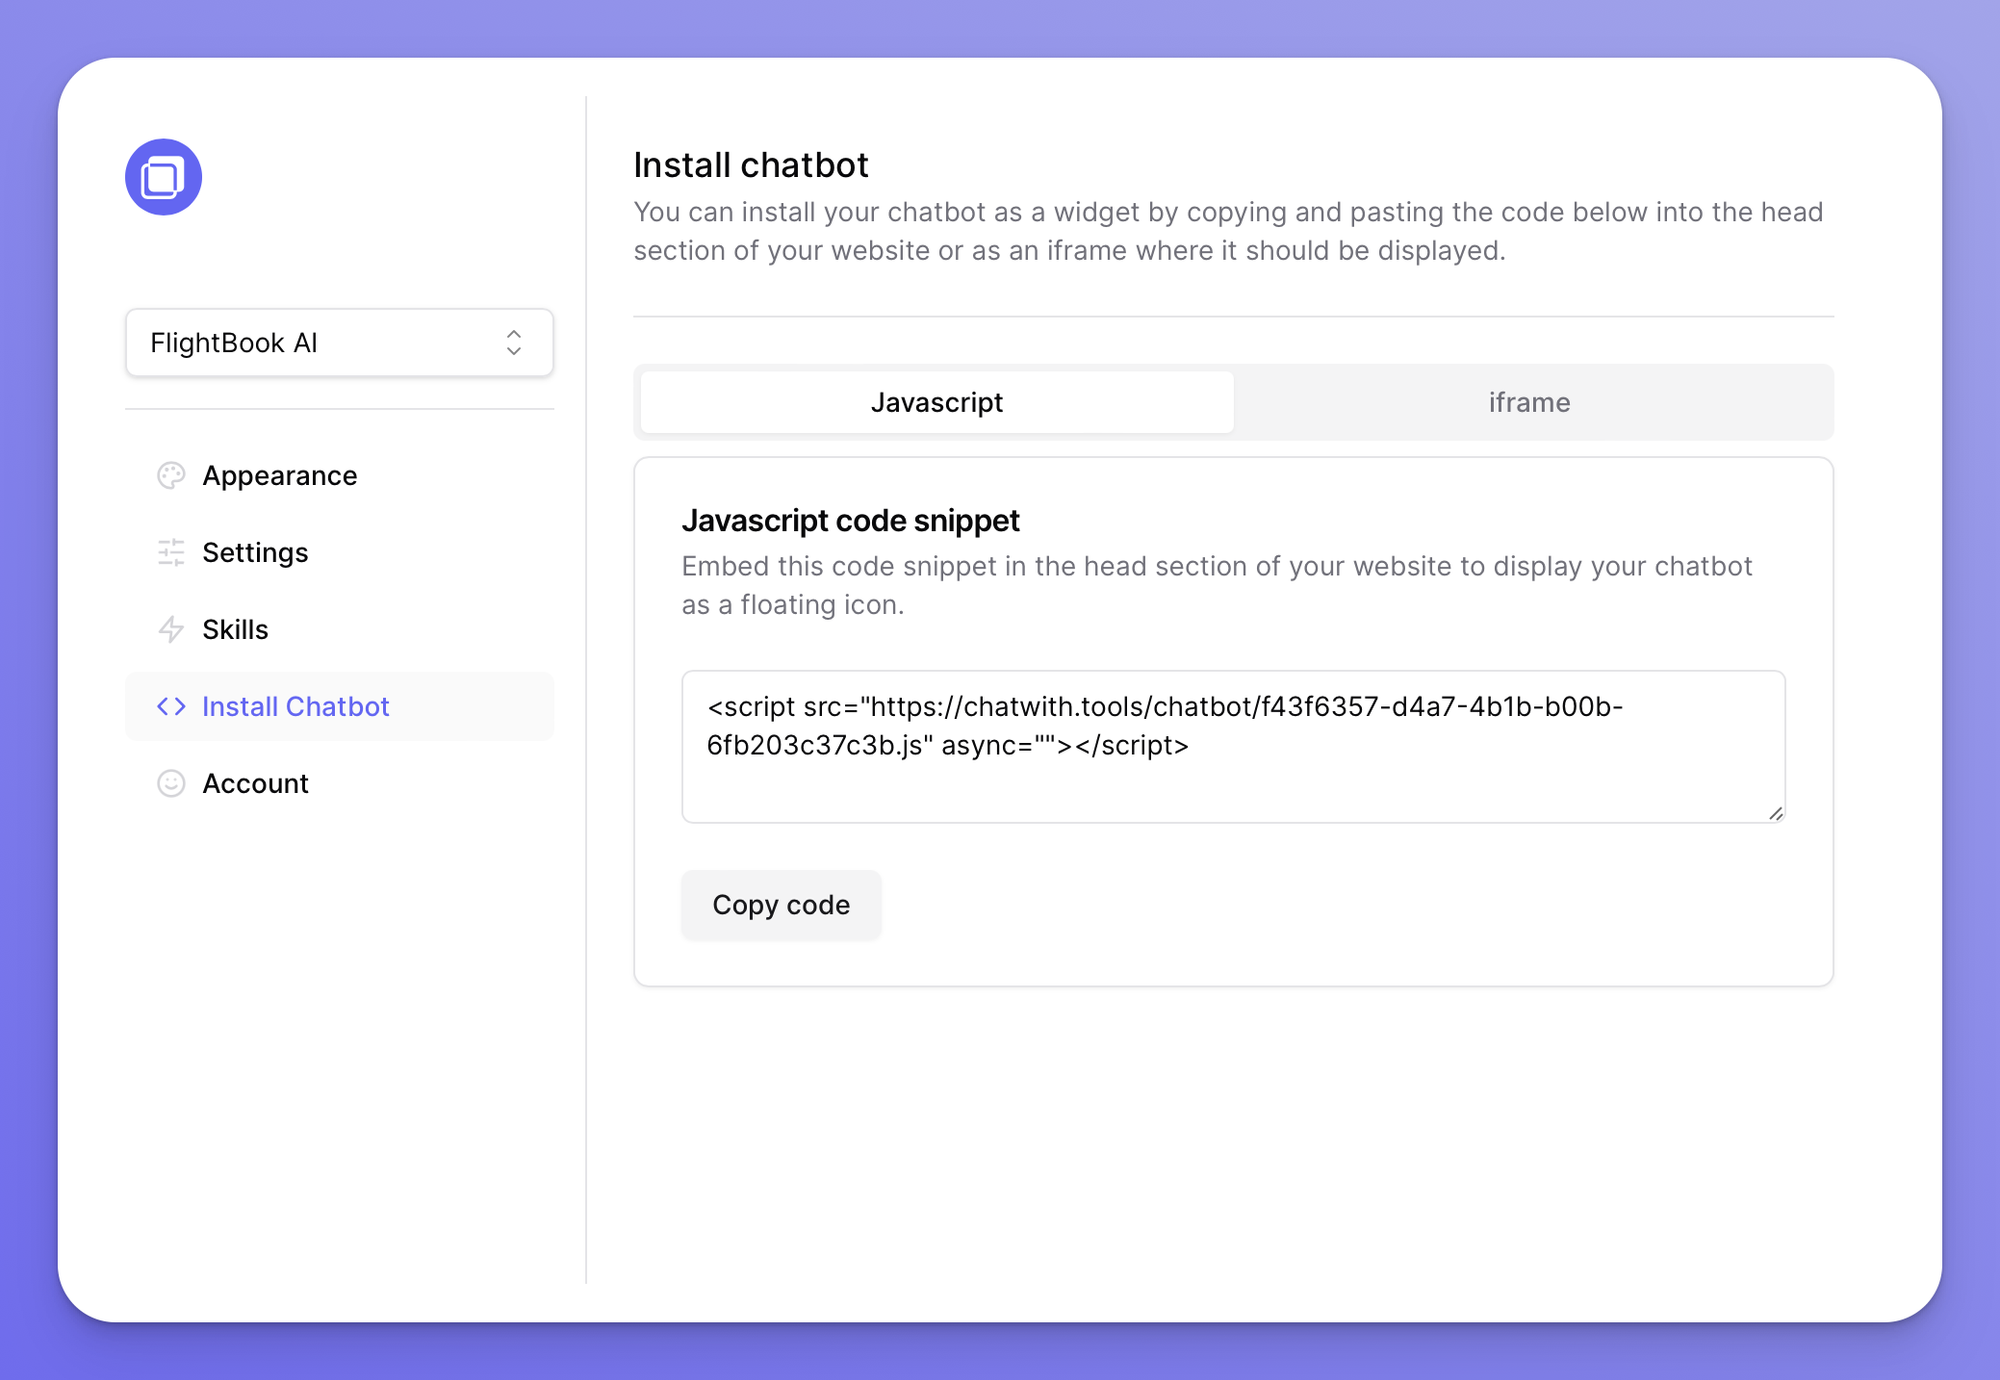
Select your chatbot from the dropdown menu at the top, click on the Install chatbot section in the sidebar, then click on the Copy code button to copy your code snippet.

In Wix
- Go to Settings in your site's dashboard.
- Click the Custom Code tab in the Advanced section.
- Click + Add Custom Code at the top right.
- Paste your chatbot code snippet in the text box.
- Enter a name for your code. Tip: Give it a name that is easy to recognize so you can quickly identify it later.
- Select an option under Add Code to Pages:
- All pages: This adds the chatbot to all of your site's pages, including any new pages that you create in the future.
- Choose specific pages: Use the drop-down menu to add chatbot only on specific pages.
- Choose Head as the value of the Place Code in picker.
- Click Apply.
You can see the official documentation here.
